搜索到
18
篇与
的结果
-
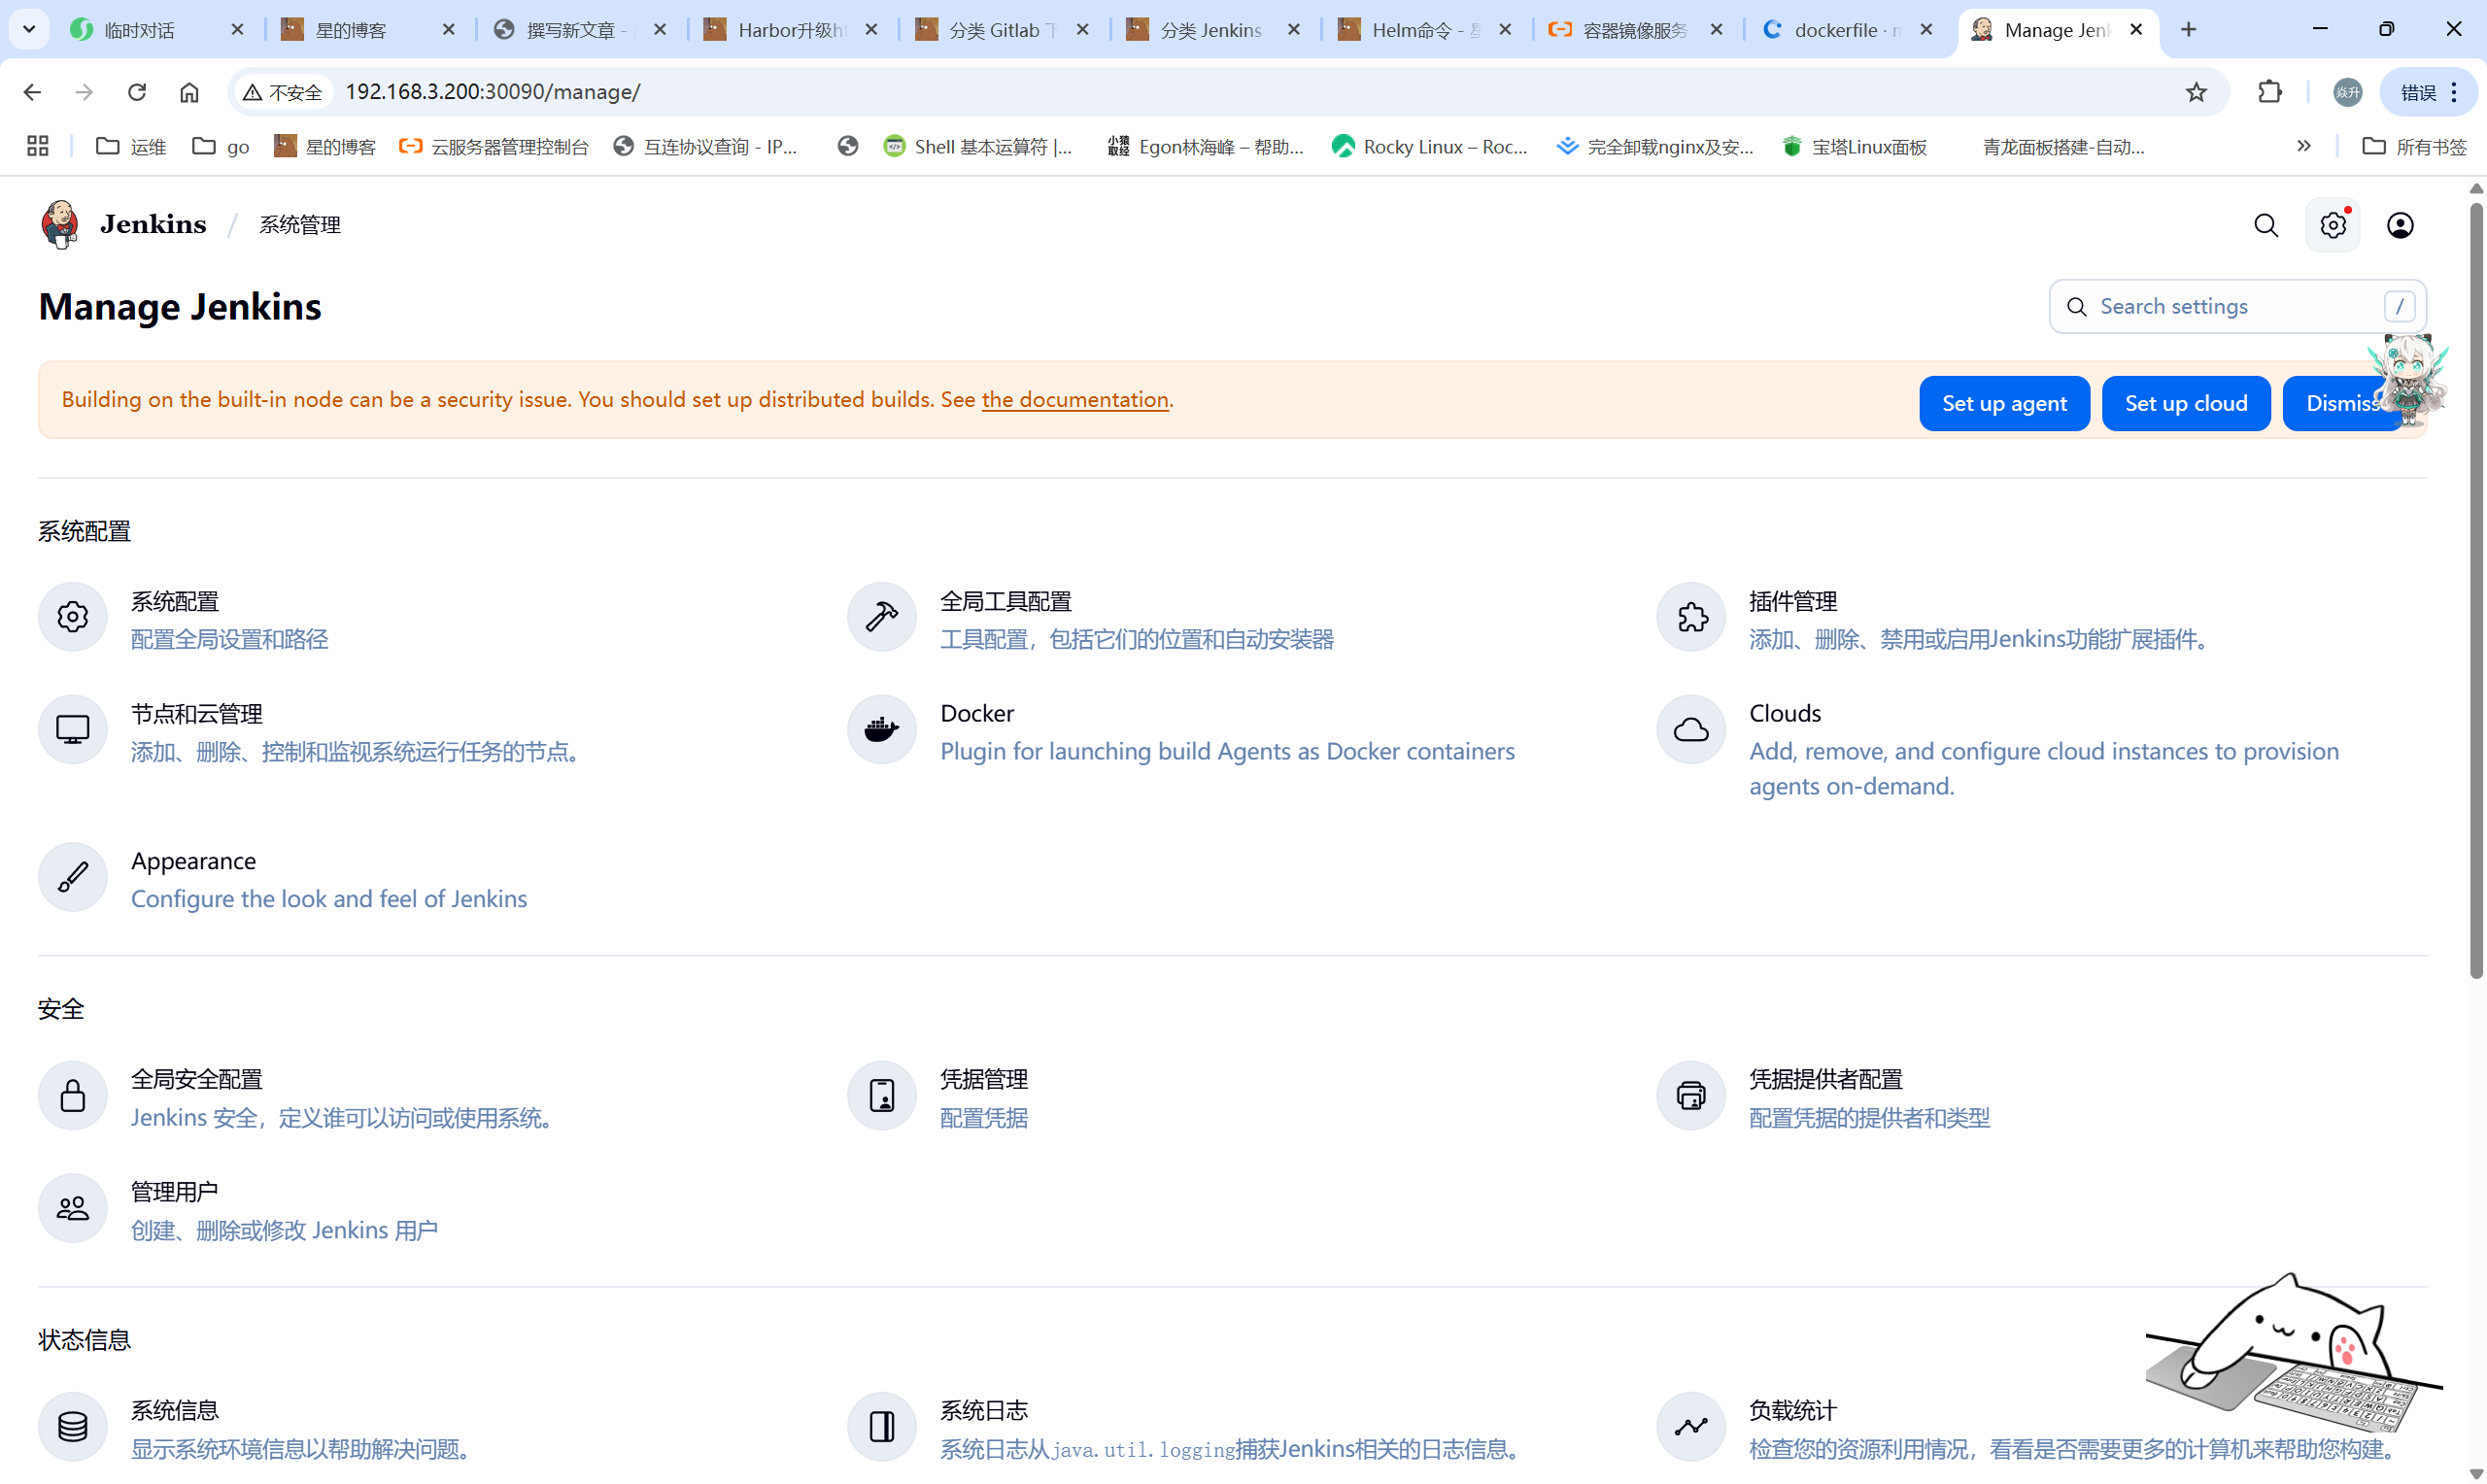
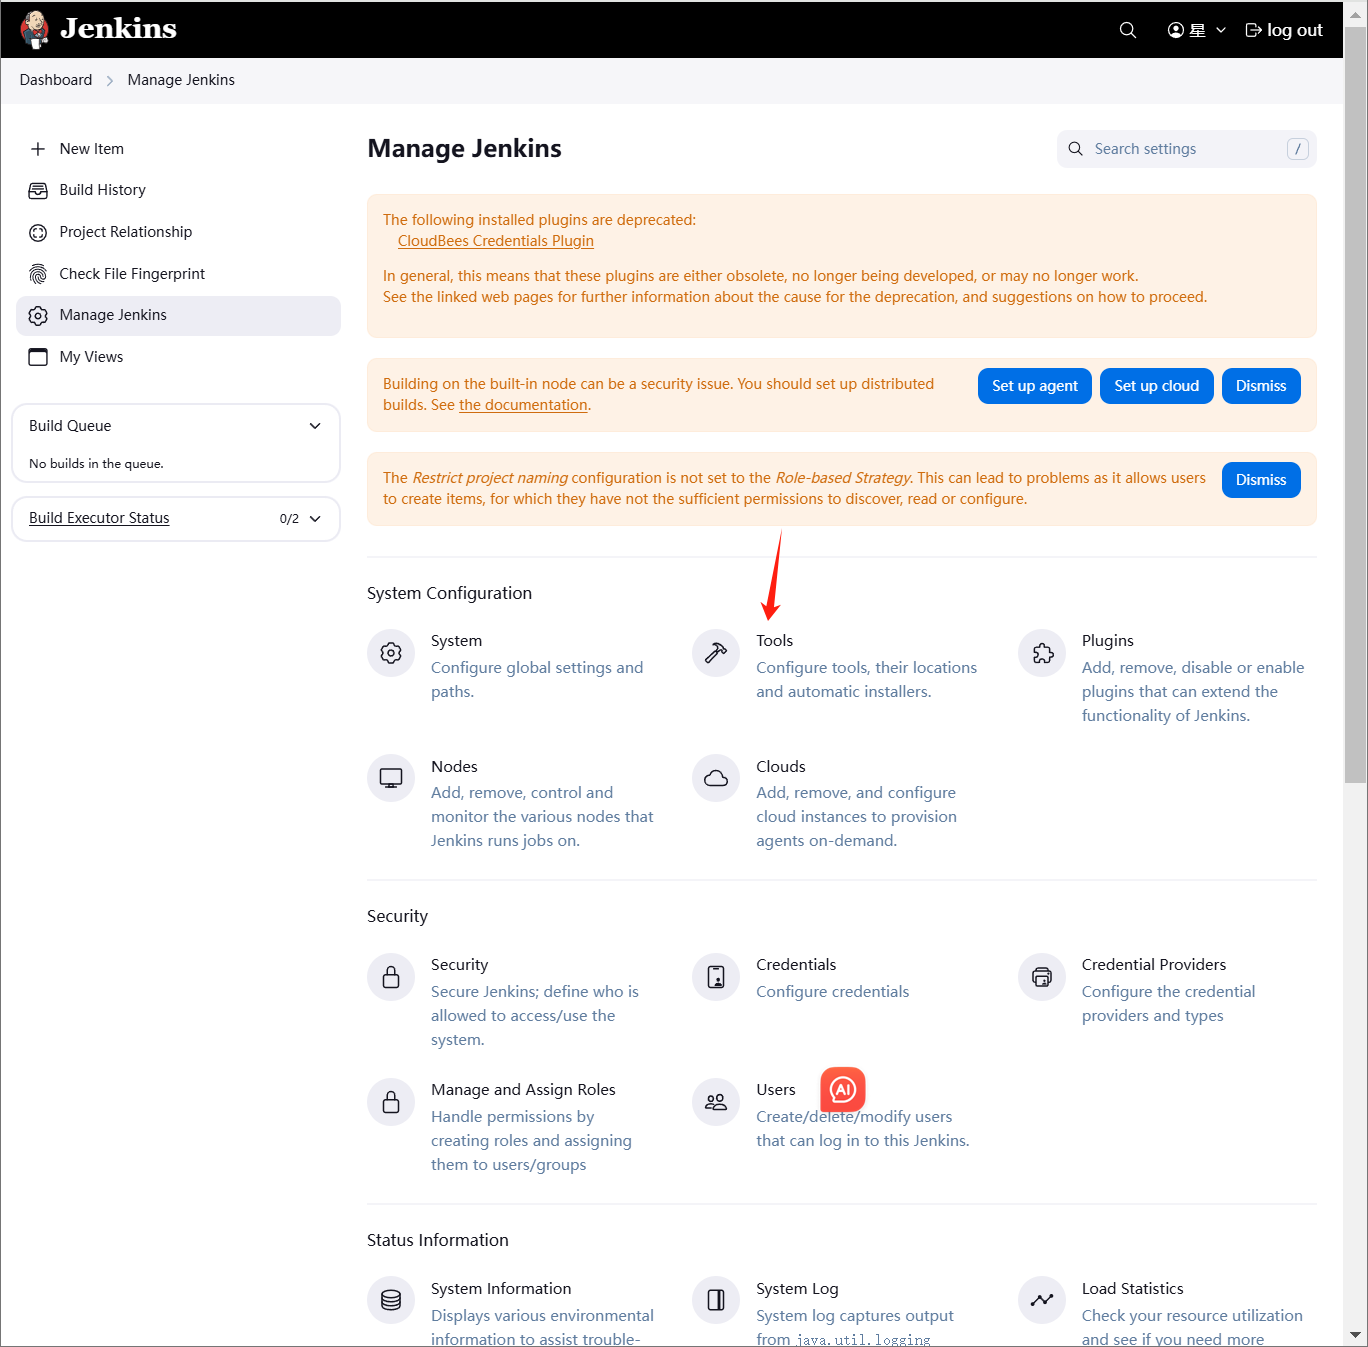
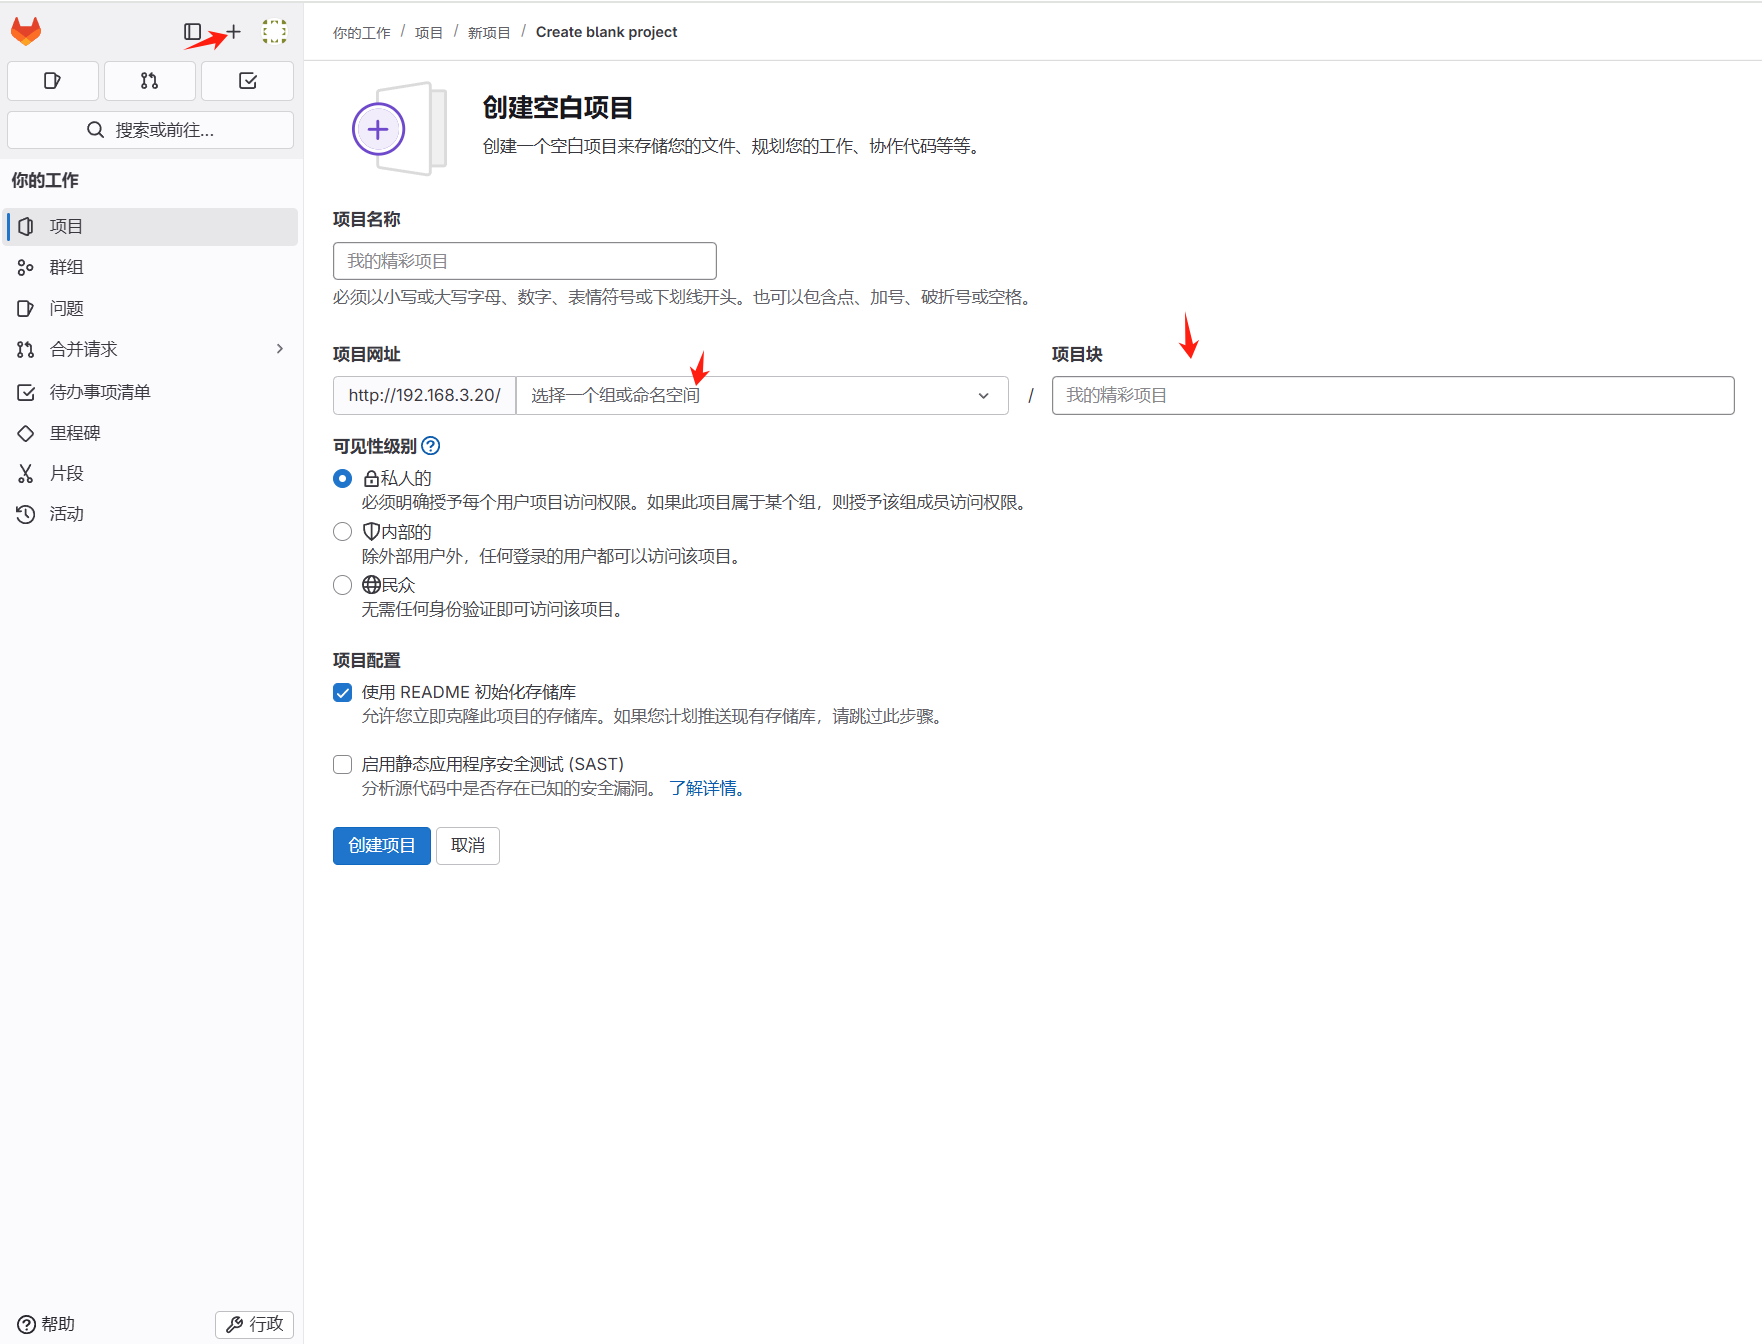
 gitlab和jenkins连接 一、gitlab配置 1.1 创建用户并登录1.2 导入项目需要管理员后台开启导入功能此处以Vue项目为例,项目地址:https://gitee.com/cuiliang0302/vue3_vite_element-plus.git二、jenkins配置 2.1 安装gitlab插件依次点击jenkins——>Manage Jenkins——>插件管理——>Plugins,在Jenkins的插件管理中安装GitLab插件三、连接测试 3.1 SSH验证#在容器中生成秘钥 root@k8s-01:~# kubectl get pods -n cicd NAME READY STATUS RESTARTS AGE jenkins-c884498c6-jt5rd 1/1 Running 4 (11m ago) 36h root@k8s-01:~# kubectl exec -it -n cicd jenkins-c884498c6-jt5rd -- /bin/sh $ ssh-keygen Generating public/private rsa key pair. Enter file in which to save the key (/var/jenkins_home/.ssh/id_rsa): Created directory '/var/jenkins_home/.ssh'. Enter passphrase (empty for no passphrase): Enter same passphrase again: Your identification has been saved in /var/jenkins_home/.ssh/id_rsa Your public key has been saved in /var/jenkins_home/.ssh/id_rsa.pub The key fingerprint is: SHA256:vslPYI4OboQAv+ClSj+l0s5BcOgWy71KoF3CFJnOKEM jenkins@jenkins-c884498c6-jt5rd The key's randomart image is: +---[RSA 3072]----+ | .o | |.E+. | |oO.. | |OoX. | |+O==. S | |+=+oo. = . | |+.+++ . o . | |o.o*oo . + | | .o+o . +.. | +----[SHA256]-----+ $ cat ~/.ssh/id_rsa.pub ssh-rsa AAAAB3NzaC1yc2EAAAADAQABAAABgQDAmjMVNkGL2gzFKQZDaC5jxOCXniZfBdkdYvqdralfhdVMTqxSgbQNbBX3E3S98L736/d0p7kgqZb/6FNGtNeAzHaQuWC2buPz1JAVw38dYuNbMazrpnsEcuoajbjACASwPSYfHhvq6zZ9xYMZMPqlgFgAgZGPmrC22cIgg1mFapwOIUyc56XqXViDOUZMGof5HQC+pNSV3iKfCt6agzPvDk6jXauis77n1T5gNiyeZixFDsXf9/6ORvd6XNUX0OfqZF2TUceIOWk+u1N/k5Y8CDjnHAJxftJJWFWtDwkANnqux1HA2BcUYCmZlvyPUNJHKTBWvQZ4Q7EbH0fX6YNN/n3doYovU4aA+OfpVlPv+4tzwUHSy5bauVUDT42Bg1KZtCwDIvf2rxrTmWCbb8ceNPti8/XzzccuZ8al382cE2yK0i6/PUjrI3Azk/NAKVdCERb/RgYpimALfWmUoduPdcLHNwZOsm3JjvxHuP88YxxvRG5JkzpU8bbg/a1RKeM= jenkins@jenkins-c884498c6-jt5rd在gitlab中添加ssh密钥信息获取jenkins容器用户名和私钥$ whoami jenkins $ cat ~/.ssh/id_rsa -----BEGIN OPENSSH PRIVATE KEY----- b3BlbnNzaC1rZXktdjEAAAAABG5vbmUAAAAEbm9uZQAAAAAAAAABAAABlwAAAAdzc2gtcn NhAAAAAwEAAQAAAYEAwJozFTZBi9oMxSkGQ2guY8Tgl54mXwXZHWL6na2pX4XVTE6sUoG0 DWwV9xN0vfC+9+v3dKe5IKmW/+hTRrTXgMx2kLlgtm7j89SQFcN/HWLjWzGs66Z7BHLqGo 24wAgEsD0mHx4b6us2fcWDGTD6pYBYAIGRj5qwttnCIINZhWqcDiFMnOel6l1YgzlGTBqH +R0AvqTUld4inwremoMz7w5Oo12rorO+59U+YDYsnmYsRQ7F3/f+jkb3elzVF9Dn6mRdk1 HHiDlpPrtTf5OWPAg45xwCcX7SSVhVrQ8JADZ6rsdRwNgXFGApmZb8j1DSRykwVr0GeEOx Gx9H1+mDTf593aGKL1OGgPjn6VZT7/uLc8FB0suW2rlVA0+NgYNSmbQsAyL39q8a05lgm2 /HHjT7YvP1883HLmfGpd/NnBNsitIuvz1I6yNwM5PzQClXQhEW/0YGKYpgC31plKHbj3XC xzcGTrJtyY78R7j/PGMcb0RuSZM6VPG24P2tUSnjAAAFmDaXUJE2l1CRAAAAB3NzaC1yc2 EAAAGBAMCaMxU2QYvaDMUpBkNoLmPE4JeeJl8F2R1i+p2tqV+F1UxOrFKBtA1sFfcTdL3w vvfr93SnuSCplv/oU0a014DMdpC5YLZu4/PUkBXDfx1i41sxrOumewRy6hqNuMAIBLA9Jh 8eG+rrNn3Fgxkw+qWAWACBkY+asLbZwiCDWYVqnA4hTJznpepdWIM5Rkwah/kdAL6k1JXe Ip8K3pqDM+8OTqNdq6KzvufVPmA2LJ5mLEUOxd/3/o5G93pc1RfQ5+pkXZNRx4g5aT67U3 +TljwIOOccAnF+0klYVa0PCQA2eq7HUcDYFxRgKZmW/I9Q0kcpMFa9BnhDsRsfR9fpg03+ fd2hii9ThoD45+lWU+/7i3PBQdLLltq5VQNPjYGDUpm0LAMi9/avGtOZYJtvxx40+2Lz9f PNxy5nxqXfzZwTbIrSLr89SOsjcDOT80ApV0IRFv9GBimKYAt9aZSh2491wsc3Bk6ybcmO /Ee4/zxjHG9EbkmTOlTxtuD9rVEp4wAAAAMBAAEAAAGABpcgKVkmbAUli7eIJdVSRQqvDr EUKgs2ryk8XxnaolCfiFFm1xnmEdGBfOdXBsrOlggmewDkNkhnSNFnzBMTDq6wXeph80wf E7BRz9TVLCm+ktfDzXpwWioedZMk37lGg8tL2yO6G9M5lZslDb8dzHz0RewpEWtfIZqY6G jmLskDlv4vs2y/wiG4jiDvFVqRDYafCGb2eTxVHfEOxeW4aLUqHq/tWA9jeGZVEJC5/R+M 4z4Kqku/k5m9DRxRFFQLFEKxuWidau45/e3Kqx7RHSFQuKIyGo44KBCQed3XcVnEexS9SI UUdhvYNqBX3KdCiDQphFcYoG360/+Pt9NVQ4/yTpHp7A2qSXHgVtEtYtUCdEd3TdsOeir5 s3dRDjRb3Hp+gJPVNSJ2cZJG8pBrVWfwLqv4wl/vJwDS3E20jCY2a+roc21LAbVV52bmjS MjfMpzayKHTamoeDvWA7+9pyeW0X/s/PDgkXgHqMlLpUsDloF7Xn6bHgmHtu02m88BAAAA wQCt/X9vXe7SbvE9q/DyQpWWRLFNYhB+qTEiLqh5ndyoej9cCsrpj9BrudPS2uh2xMxfS9 JfpUqk++tSKQxJb6LXQBmFh5+gEXVql415iIWFCUhm28QeaJ5IxvYVdN6uAqNH81mWnpo7 K3pzKKp1oJfMMbToLrJFrxgwSnrPRhhegjA0Hb6CmfO7N+sBss0SAmbQx3SMfXL30Hxjqa 0DeSrzg4i4HArm8cd89wSQEfx6500yhUG+AARHzCxpcSeuTaYAAADBAOuBZ4LO9glbwUCV FulNeVvnbrlFpFbovu9eg1ROYxkB8yEMS3s6HtGyM/0c6QxT14Qam1siGuxLYR9UgGSvl5 EOpS/1aGbr5UYBVDXrGh3OdrfyD0OIZuxxyY5liZ7sRA+LC+6cR6qmOaShwS/8Afru8KdU 1CYGU9Ndit8gS156imT/jRJgci0m+pSgtP9ZsGbxbfZCGZyG1QOmgQTOHmFw/eXm/qPZ6t SuBzz3IprArOn+MaNKxlh/qGB6kSjzAQAAAMEA0Vz/hyPNJwErFfngA8DdAo4OZPw9thcM 3n0Kv6/jeDglDWQ4/FfSVp9PdQdZNKlk/Yp5wXxUV1SxtKCEDXLC8DofDhxoVh9UKTJkpU LnoD5mfr5oHsZ9BONixBS1OkX/NDdIe+pQ+oGX1TaxavQnGwXulI/Xu4x8GIulwgDEaXYd NbXSU1Wu1/mmVuGrCq2s6hXgOJF8xJ0DiX0JmdgH9yNPOteJiaQcoZbL90xmlOM76zWyv7 5AbWNqZ4UL8bDjAAAAH2plbmtpbnNAamVua2lucy1jODg0NDk4YzYtanQ1cmQBAgM= -----END OPENSSH PRIVATE KEY----- jenkins创建密钥凭据,类型选择ssh username with private key获取仓库git连接地址创建自由风格的软件项目在源码管理中添加仓库地址,需要注意的是默认地址为git@gitlab-559d798d49-hpcjt:cuiliang/vue3_vite_element-plus.git,修改为git@gitlab-svc.cicd.svc:cuiliang/vue3_vite_element-plus.git,并在jenkins容器中执行命令,添加远程仓库地址。 #上面是gitlab跑在k8s当中需要修改的 下面是gitlab裸部署 git@192.168.30.181:xing/vue3_vite_element-plus.git$ $ git ls-remote -h -- git@192.168.30.181:xing/vue3_vite_element-plus.git HEAD The authenticity of host '192.168.30.181 (192.168.30.181)' can't be established. ED25519 key fingerprint is SHA256:2awMz8VKsoMHs1ylz/z1bl11ATG3AcIVJEABqhR51p0. This key is not known by any other names. Are you sure you want to continue connecting (yes/no/[fingerprint])? yes Warning: Permanently added '192.168.30.181' (ED25519) to the list of known hosts.点击立即构建,可以拉取代码并获取git commit信息。3.2 http/https连接添加jenkins凭据 在jenkins中添加凭据,账号为gitlab账户和密码。 jenkins——>系统管理——>Credentials——>添加类型为username with password的全局凭据获取项目克隆地址访问gitlab项目页,获取项目http克隆地址。 http://192.168.30.181/xing/vue3_vite_element-plus.git创建自由风格任务测试新建一个自由风格软件项目测试如果是gitlab是跑在k8s里面的在源码管理中填写http仓库地址,并选择账号密码凭据,需要注意的是仓库地址默认使用gitlab的pod名称,需要改为svc名称方式。即http://gitlab-svc.cicd.svc/cuiliang/vue3_vite_element-plus.git点击立即构建,查看控制台日志,已经可以正常拉取项目代码,获取到git commit信息。3.3Access Token验证登录gitlab,依次点击项目——>设置——>访问令牌。角色设置为guest,授予api权限即可。glpat-d2zMJyr9Z3u_1b-B43s1创建凭据,依次点击jenkins——>系统管理——>Credentials——> Add Credentials,类型选择gitlab api token配置gitlab信息 jenkins——>系统管理——>系统配置,找到gitlab配置区域, gitlab url填写http://gitlab-svc.cicd.svc,然后点击 Test Connection,显示 Success,表示成功。四、webhook配置通常在企业实际开发过程中,当代码提交到master分支或者创建tag时,gitlab请求jenkins的webhook地址,完成持续构建和持续部署流程。4.1创建jenkins流水线项目4.1.1新建一个类型为流水线的任务pipeline { agent any stages { stage('Checkout') { steps { // 修正参数名并补充必要参数 git branch: 'master', credentialsId: 'gitlab-xing-password', // Jenkins凭据ID url: 'http://192.168.30.181/xing/vue3_vite_element-plus.git', poll: true, // 对应"√ Include in polling" changelog: true // 对应"√ Include in changelog" } } stage('build') { steps { echo '编译打包完成' } } } }如果不选择沙盒会报错接下来点击立即构建,测试是否可以正常拉取代码4.2 开启webhook配置配置gitlab策略,使用root用户登录——>管理员——>网络——>出站请求——>允许来自webhook和集成对本地网络的请求。获取jenkins webhook令牌 修改流水线任务,点击**Build when a change is pushed to GitLab的高级选项,生成令牌。切换回cuiliang用户——>vue项目——>设置——>webhooks——>填写jenkins生成的webhook地址和令牌。触发来源选择所有分支。查看jenkins构建历史,发现触发了自动构建五、项目添加Jenkinsfile通常在企业开发中,jenkinsfile文件存放在项目指定路径下,与仓库代码一同维护,根据环境灵活配置,而非jenkins中的固定配置。修改流水线配置,选择pipeline文件来自仓库提交代码到仓库后,查看jenkins构建历史,发现已经自动触发了一次构建
 -
k8s部署jenkins 一、创建资源 1.1 jenkins-deployment.yamlcat > deployment.yaml << EOF # jenkins-deployment.yaml apiVersion: apps/v1 kind: Deployment metadata: name: jenkins namespace: cicd spec: replicas: 1 selector: matchLabels: app: jenkins template: metadata: labels: app: jenkins spec: securityContext: fsGroup: 1000 # 确保 Jenkins 用户有存储写入权限 serviceAccountName: jenkins-admin containers: - name: jenkins image: registry.cn-guangzhou.aliyuncs.com/xingcangku/jenkins-jenkins-lts-jdk17:lts-jdk17 imagePullPolicy: IfNotPresent ports: - containerPort: 8080 - containerPort: 50000 #env: #- name: JAVA_OPTS #value: "-Djenkins.install.runSetupWizard=false -Xmx2g" # 跳过初始化向导,内存限制 volumeMounts: - name: jenkins-data mountPath: /var/jenkins_home resources: limits: cpu: "1" memory: "3Gi" requests: cpu: "0.5" memory: "1Gi" livenessProbe: httpGet: path: /login port: 8080 initialDelaySeconds: 90 periodSeconds: 10 volumes: - name: jenkins-data persistentVolumeClaim: claimName: jenkins-pvc # 绑定 CephFS PVC EOF1.2 jenkins-pvc.yamlcat > pvc.yaml << EOF apiVersion: v1 kind: PersistentVolumeClaim metadata: name: jenkins-pvc # PVC 的名称 namespace: cicd # 建议创建一个专门的命名空间,如 devops spec: storageClassName: ceph-cephfs # ⚠️ 确保这里与你部署的 StorageClass 名称完全一致 accessModes: - ReadWriteMany # Jenkins 适合使用多个节点可读写的存储 resources: requests: storage: 20Gi # 根据你的需求调整存储大小,建议至少 10-20Gi EOF1.3 jenkins-rbac.yamlcat > rbac.yaml << EOF # rbac.yaml apiVersion: v1 kind: ServiceAccount metadata: name: jenkins-admin namespace: cicd --- kind: ClusterRoleBinding apiVersion: rbac.authorization.k8s.io/v1 metadata: name: jenkins-admin-crb roleRef: apiGroup: rbac.authorization.k8s.io kind: ClusterRole name: edit # 授予命名空间内管理权限 subjects: - kind: ServiceAccount name: jenkins-admin namespace: jenkins EOF1.4 jenkins-svc.yamlcat > svc.yaml << EOF # service.yaml apiVersion: v1 kind: Service metadata: name: jenkins-service namespace: cicd spec: type: NodePort ports: - port: 8080 targetPort: 8080 name: http - port: 50000 targetPort: 50000 name: agent selector: app: jenkins EOF1.5 账号密码账号admin 密码去容器里面中查看 cat /var/jenkins_home/secrets/initialAdminPassword
-
Jenkins邮箱配置 一、安装插件在jenkins的插件管理中安装Email Extension插件二、配置邮件相关参数依次点击manage jenkins——>system,找到jenkins Location项,填写系统管理员邮件地址。配置邮件服务器相关参数,然后点击通过发送测试邮件测试配置,填写收件人邮箱号。配置Extended E-mail Notification配置,内容如下登录收件人邮件,看到有测试邮件。三、自动风格任务配置 3.1修改任务配置构建后操作内容3.2构建测试3.2.1点击立即构建,查看收件人邮箱四、流水线任务配置 4.1修改pipeline添加邮件发送在项目根目录编写email.html,并推送至项目仓库。邮件模板如下所示:<!DOCTYPE html> <html> <head> <meta charset="UTF-8"> <title>${ENV, var="JOB_NAME"}-第${BUILD_NUMBER}次构建日志</title> </head> <body leftmargin="8" marginwidth="0" topmargin="8" marginheight="4" offset="0"> <table width="95%" cellpadding="0" cellspacing="0" style="font-size: 11pt; font-family: Tahoma, Arial, Helvetica, sans-serif"> <tr> 本邮件由系统自动发出,无需回复!<br/> 各位同事,大家好,以下为${PROJECT_NAME }项目构建信息</br> <td><font color="#CC0000">构建结果 - ${BUILD_STATUS}</font></td> </tr> <tr> <td><br /> <b><font color="#0B610B">构建信息</font></b> <hr size="2" width="100%" align="center" /></td> </tr> <tr> <td> <ul> <li>项目名称 : ${PROJECT_NAME}</li> <li>构建编号 : 第${BUILD_NUMBER}次构建</li> <li>触发原因: ${CAUSE}</li> <li>构建状态: ${BUILD_STATUS}</li> <li>构建日志: <a href="${BUILD_URL}console">${BUILD_URL}console</a></li> <li>构建Url : <a href="${BUILD_URL}">${BUILD_URL}</a></li> <li>工作目录 : <a href="${PROJECT_URL}ws">${PROJECT_URL}ws</a></li> <li>项目Url : <a href="${PROJECT_URL}">${PROJECT_URL}</a></li> </ul> <h4><font color="#0B610B">失败用例</font></h4> <hr size="2" width="100%" /> $FAILED_TESTS<br/> <h4><font color="#0B610B">最近提交(#$SVN_REVISION)</font></h4> <hr size="2" width="100%" /> <ul> ${CHANGES_SINCE_LAST_SUCCESS, reverse=true, format="%c", changesFormat="<li>%d [%a] %m</li>"} </ul> 详细提交: <a href="${PROJECT_URL}changes">${PROJECT_URL}changes</a><br/> </td> </tr> </table> </body> </html> 4.2修改pipeline添加邮件发送pipeline { agent any stages { stage('拉取代码') { steps { checkout scmGit(branches: [[name: '*/${branch}']], extensions: [], userRemoteConfigs: [[credentialsId: 'gitee-cuiliang0302', url: 'https://gitee.com/cuiliang0302/sprint_boot_demo.git']]) } } stage('编译构建') { steps { sh 'mvn clean package' } } stage('部署运行') { steps { sh 'nohup java -jar target/SpringBootDemo-0.0.1-SNAPSHOT.jar &' sh 'sleep 10' } } } post { always { emailext( subject: '构建通知:${PROJECT_NAME} - Build # ${BUILD_NUMBER} - ${BUILD_STATUS}!', body: '${FILE,path="email.html"}', to: 'cuiliang0302@qq.com' ) } } }4.3构建测试
-
jenkins部署tomcat jenkins部署tomcatmaven编译环境(jenkins服务器) 运行环境(web服务器)一、部署maven编译环境(jenkins)Maven是一个Java项目管理和构建工具,它可以定义项目结构、项目依赖,并使用统一的方式进行自动化构建,是Java项目不可缺少的工具。1.jenkins部署maven软件1.1下载安装包cd /opt wget https://mirrors.aliyun.com/apache/maven/maven-3/3.9.9/binaries/apache-maven-3.9.9-bin.tar.gz1.2解压tar -xf apache-maven-3.9.9-bin.tar.gz -C /usr/local/1.3配置环境变量[root@master01 opt]# vim /etc/profile.d/maven.sh [root@master01 opt]# cat /etc/profile.d/maven.sh export MAVEN_HOME=/usr/local/apache-maven-3.9.9 export PATH=$MAVEN_HOME/bin:$PATH [root@master01 opt]# source /etc/profile [root@master01 opt]# #刷新1.4安装JDK#jenkins安装的时候部署过 [root@master01 opt]# mvn --version Apache Maven 3.9.9 (8e8579a9e76f7d015ee5ec7bfcdc97d260186937) Maven home: /usr/local/apache-maven-3.9.9 Java version: 17.0.0.1, vendor: Oracle Corporation, runtime: /opt/jdk-17.0.0.1 Default locale: zh_CN, platform encoding: UTF-8 OS name: "linux", version: "3.10.0-1160.el7.x86_64", arch: "amd64", family: "unix"2.配置jenkins+maven2.1配置JDK2.2配置maven环境变量2.3安装maven插件3.创建代码仓库4.模拟代码上传4.1拉取新仓库[root@master01 opt]# cd /root [root@master01 ~]# git clone git@192.168.3.100:root/tomcat.git 正克隆到 'tomcat'... remote: Enumerating objects: 3, done. remote: Counting objects: 100% (3/3), done. remote: Compressing objects: 100% (2/2), done. remote: Total 3 (delta 0), reused 0 (delta 0), pack-reused 0 (from 0) 接收对象中: 100% (3/3), done. [root@master01 ~]# cd /tmp/ [root@master01 tmp]# cd /root/tomcat/ [root@master01 tomcat]# ls README.md4.2配置个人信息[root@master01 tomcat]# git config --global user.email "123@qq.com" [root@master01 tomcat]# git config --global user.name "axingkf"4.3模拟代码上传vi javatest.java public class JavaVersion { public static void main(String[] args) { // 打印当前 Java 版本信息 System.out.println("Java Version: " + System.getProperty("java.version")); System.out.println("Java Vendor: " + System.getProperty("java.vendor")); System.out.println("Java Vendor URL: " + System.getProperty("java.vendor.url")); System.out.println("Java Home: " + System.getProperty("java.home")); } }#添加所有文件到暂存区 [root@master01 tomcat]# git add . #提交暂存区的制定文件到仓库区 [root@master01 tomcat]# git commit -m "第一次java开发" [main 51687a7] 第一次java开发 1 file changed, 9 insertions(+) create mode 100644 javatest.java #没有master这个分区 [root@master01 tomcat]# git push -u origin master error: src refspec master does not match any. error: 无法推送一些引用到 'git@192.168.3.100:root/tomcat.git' # 上传到远程 [root@master01 tomcat]# git push -u origin main Counting objects: 4, done. Delta compression using up to 8 threads. Compressing objects: 100% (3/3), done. Writing objects: 100% (3/3), 488 bytes | 0 bytes/s, done. Total 3 (delta 0), reused 0 (delta 0) To git@192.168.3.100:root/tomcat.git c086be9..51687a7 main -> main 分支 main 设置为跟踪来自 origin 的远程分支 main。 [root@master01 tomcat]# 5、创建maven仓库mkdir -pv /data/software/repository chown jenkins.jenkins /data/software/repository/vim /usr/local/apache-maven-3.6.3/conf/settings.xml #添加本地仓库路径和阿里云镜像 <?xml version="1.0" encoding="UTF-8"?> <!-- Licensed to the Apache Software Foundation (ASF) under one or more contributor license agreements. See the NOTICE file distributed with this work for additional information regarding copyright ownership. The ASF licenses this file to you under the Apache License, Version 2.0 (the "License"); you may not use this file except in compliance with the License. You may obtain a copy of the License at http://www.apache.org/licenses/LICENSE-2.0 Unless required by applicable law or agreed to in writing, software distributed under the License is distributed on an "AS IS" BASIS, WITHOUT WARRANTIES OR CONDITIONS OF ANY KIND, either express or implied. See the License for the specific language governing permissions and limitations under the License. --> <!-- | This is the configuration file for Maven. It can be specified at two levels: | | 1. User Level. This settings.xml file provides configuration for a single user, | and is normally provided in ${user.home}/.m2/settings.xml. | | NOTE: This location can be overridden with the CLI option: | | -s /path/to/user/settings.xml | | 2. Global Level. This settings.xml file provides configuration for all Maven | users on a machine (assuming they're all using the same Maven | installation). It's normally provided in | ${maven.conf}/settings.xml. | | NOTE: This location can be overridden with the CLI option: | | -gs /path/to/global/settings.xml | | The sections in this sample file are intended to give you a running start at | getting the most out of your Maven installation. Where appropriate, the default | values (values used when the setting is not specified) are provided. | |--> <settings xmlns="http://maven.apache.org/SETTINGS/1.2.0" xmlns:xsi="http://www.w3.org/2001/XMLSchema-instance" xsi:schemaLocation="http://maven.apache.org/SETTINGS/1.2.0 https://maven.apache.org/xsd/settings-1.2.0.xsd"> <!-- localRepository --> <localRepository>/data/software/repository</localRepository> <!-- Mirrors --> <mirrors> <!-- Add Aliyun Maven Mirror --> <mirror> <id>aliyun</id> <mirrorOf>central</mirrorOf> <name>Aliyun Maven Mirror</name> <url>https://maven.aliyun.com/repository/public</url> <blocked>false</blocked> </mirror> <mirror> <id>maven-default-http-blocker</id> <mirrorOf>external:http:*</mirrorOf> <name>Pseudo repository to mirror external repositories initially using HTTP.</name> <url>http://0.0.0.0/</url> <blocked>true</blocked> </mirror> </mirrors> <!-- interactiveMode --> <!-- This will determine whether maven prompts you when it needs input. If set to false, maven will use a sensible default value, perhaps based on some other setting, for the parameter in question. --> <!-- <interactiveMode>true</interactiveMode> --> <!-- offline --> <!-- Determines whether maven should attempt to connect to the network when executing a build. This will have an effect on artifact downloads, artifact deployment, and others. --> <!-- <offline>false</offline> --> <!-- pluginGroups --> <pluginGroups> <!-- pluginGroup | Specifies a further group identifier to use for plugin lookup. <pluginGroup>com.your.plugins</pluginGroup> --> </pluginGroups> <!-- proxies --> <!-- This is a list of proxies which can be used on this machine to connect to the network. Unless otherwise specified (by system property or command-line switch), the first proxy specification in this list marked as active will be used. --> <proxies> <!-- proxy | Specification for one proxy, to be used in connecting to the network. | <proxy> <id>optional</id> <active>true</active> <protocol>http</protocol> <username>proxyuser</username> <password>proxypass</password> <host>proxy.host.net</host> <port>80</port> <nonProxyHosts>local.net|some.host.com</nonProxyHosts> </proxy> --> </proxies> <!-- servers --> <!-- This is a list of authentication profiles, keyed by the server-id used within the system. Authentication profiles can be used whenever maven must make a connection to a remote server. --> <servers> <!-- server | Specifies the authentication information to use when connecting to a particular server, identified by | a unique name within the system (referred to by the 'id' attribute below). | | NOTE: You should either specify username/password OR privateKey/passphrase, since these pairings are | used together. | <server> <id>deploymentRepo</id> <username>repouser</username> <password>repopwd</password> </server> --> <!-- Another sample, using keys to authenticate. <server> <id>siteServer</id> <privateKey>/path/to/private/key</privateKey> <passphrase>optional; leave empty if not used.</passphrase> </server> --> </servers> <!-- profiles --> <!-- This is a list of profiles which can be activated in a variety of ways, and which can modify the build process. Profiles provided in the settings.xml are intended to provide local machine- specific paths and repository locations which allow the build to work in the local environment. --> <profiles> <!-- profile | Specifies a set of introductions to the build process, to be activated using one or more of the | mechanisms described above. For inheritance purposes, and to activate profiles via <activatedProfiles/> | or the command line, profiles have to have an ID that is unique. | | An encouraged best practice for profile identification is to use a consistent naming convention | for profiles, such as 'env-dev', 'env-test', 'env-production', 'user-jdcasey', 'user-brett', etc. | This will make it more intuitive to understand what the set of introduced profiles is attempting | to accomplish, particularly when you only have a list of profile id's for debug. | | This profile --> </profiles> </settings>6、测试maven测试二、部署运行环境1、安装tomcat略2、配置方便启动[Unit] Description=Tomcat 9 After=network.target [Service] Type=forking User=tomcat Group=tomcat Environment=JAVA_HOME=/usr/local/java/jdk-17.0.0.1 Environment=CATALINA_PID=/opt/apache-tomcat-9.0.98/temp/tomcat.pid Environment=CATALINA_HOME=/opt/apache-tomcat-9.0.98 Environment=CATALINA_BASE=/opt/apache-tomcat-9.0.98 Environment='CATALINA_OPTS=-Xms512M -Xmx1024M' ExecStart=/opt/apache-tomcat-9.0.98/bin/startup.sh ExecStop=/opt/apache-tomcat-9.0.98/bin/shutdown.sh [Install] WantedBy=multi-user.target访问测试2、修改tomcat监控权限vim /opt/apache-tomcat-9.0.98/conf/tomcat-users.xml<?xml version="1.0" encoding="UTF-8"?> <!-- Licensed to the Apache Software Foundation (ASF) under one or more contributor license agreements. See the NOTICE file distributed with this work for additional information regarding copyright ownership. The ASF licenses this file to You under the Apache License, Version 2.0 (the "License"); you may not use this file except in compliance with the License. You may obtain a copy of the License at http://www.apache.org/licenses/LICENSE-2.0 Unless required by applicable law or agreed to in writing, software distributed under the License is distributed on an "AS IS" BASIS, WITHOUT WARRANTIES OR CONDITIONS OF ANY KIND, either express or implied. See the License for the specific language governing permissions and limitations under the License. --> <tomcat-users xmlns="http://tomcat.apache.org/xml" xmlns:xsi="http://www.w3.org/2001/XMLSchema-instance" xsi:schemaLocation="http://tomcat.apache.org/xml tomcat-users.xsd" version="1.0"> <!-- By default, no user is included in the "manager-gui" role required to operate the "/manager/html" web application. If you wish to use this app, you must define such a user - the username and password are arbitrary. Built-in Tomcat manager roles: - manager-gui - allows access to the HTML GUI and the status pages - manager-script - allows access to the HTTP API and the status pages - manager-jmx - allows access to the JMX proxy and the status pages - manager-status - allows access to the status pages only --> <role rolename="tomcat"/> <role rolename="role1"/> <role rolename="manager-script"/> <role rolename="manager-gui"/> <role rolename="manager-status"/> <role rolename="admin-gui"/> <role rolename="admin-script"/> <user username="tomcat" password="tomcat" roles="manager-gui,manager-script,tomcat,admin-gui,admin-script"/> </tomcat-users> /opt/apache-tomcat-9.0.98/webapps/manager/META-INF/context.xml <?xml version="1.0" encoding="UTF-8"?> <!-- Licensed to the Apache Software Foundation (ASF) under one or more contributor license agreements. See the NOTICE file distributed with this work for additional information regarding copyright ownership. The ASF licenses this file to You under the Apache License, Version 2.0 (the "License"); you may not use this file except in compliance with the License. You may obtain a copy of the License at http://www.apache.org/licenses/LICENSE-2.0 Unless required by applicable law or agreed to in writing, software distributed under the License is distributed on an "AS IS" BASIS, WITHOUT WARRANTIES OR CONDITIONS OF ANY KIND, either express or implied. See the License for the specific language governing permissions and limitations under the License. --> <Context antiResourceLocking="false" privileged="true" > <CookieProcessor className="org.apache.tomcat.util.http.Rfc6265CookieProcessor" sameSiteCookies="strict" /> <Valve className="org.apache.catalina.valves.RemoteAddrValve" allow=".*" /> <Manager sessionAttributeValueClassNameFilter="java\.lang\.(?:Boolean|Integer|Long|Number|String)|org\.apache\.catalina\.filters\.CsrfPreventionFilter\$LruCache(?:\$1)?|java\.util\.(?:Linked)?HashMap"/> </Context> systemctl restart tomcat #重启3、配置jenkisn操作tomcat3.1下载部署插件3.2添加凭证3.3部署创建后操作3.4检查3.5jenkins构建记录
-
jenkins部署PHP 一、架构规划1.gitlab 部署代码仓库 2.jenkins 部署集成工具 3.devops-node 部署nginx、php二、创建代码仓库并编写上传代码1、创建代码仓库2、gitlab添加连接2.1配置ssh秘钥cat /root/.ssh/id_rsa.pub2.2拉取代码仓库git clone git@192.168.3.100:root/php.git #要加上git clone2.3配置个人信息[root@jenkins ~/php]# git config --global user.email "123@qq.com" [root@jenkins ~/php]# git config --global user.name "PHPKF"3、模拟开发编码[root@jenkins ~/php]# echo "<?php phpinfo(); ?>" > index.php # 添加所有文件到暂存区 [root@jenkins ~/php]# git add . # 提交暂存区的指定文件到仓库区 [root@jenkins ~/php]# git commit -m "第一次开发"4、上传本地仓库master文件[root@jenkins ~/php]# git push -u origin master三、jenkins连接业务服务器1、jenkins对业务服务器做ssh免密[root@jenkins ~]# ssh-copy-id -i ~/.ssh/id_rsa.pub root@192.168.3.232、jenkins服务添加业务服务器四、新建项目